How to Start a Suburban Homestead
You do not need hundreds of remote acres in a distant rural town to build a self-sufficient, productive homestead. In fact, your standard suburban lot holds immense untapped potential. While the traditional image of homesteading often involves vast pastures and sprawling barns, modern self-reliance is increasingly taking root right in the middle of residential neighborhoods.
Suburban homesteading offers distinct advantages that rural properties often lack. With established access to municipal utilities, proximity to local agricultural supplies, and smaller, manageable square footage, you can develop a highly efficient homestead in a fraction of the time and at a lower upfront cost. By taking a strategic approach to space management, water conservation, soil health, and outbuilding construction, you can transform a typical grass lawn into a thriving, yield-producing sanctuary.
Transitioning your residential property into a productive homestead is a phased journey. By evaluating your lot’s natural assets, establishing resilient water systems, engineering high-yield gardens, building functional animal housing, and setting up dedicated harvest processing hubs, you can maximize every square foot of your land while maintaining an attractive, neighbor-friendly property.
Auditing Your Lot and Mapping Functional Zones
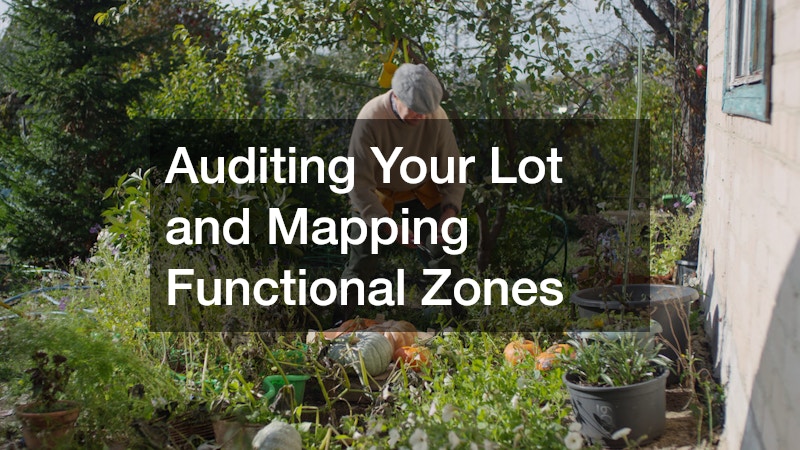
Before buying seeds, digging up turf, or bringing home livestock, you must conduct a thorough evaluation of your property. Every suburban yard possesses a unique combination of sun patterns, wind corridors, soil characteristics, and microclimates. Mapping these variables prevents costly mistakes, such as planting sun-hungry crops in deep shade or placing a chicken coop in a low-lying area prone to spring flooding.
Begin by sketching a base map of your property that includes all fixed structures, including your house, driveway, patio, mature trees, and underground utility lines. Over the course of several days, observe how sunlight moves across your yard from early morning to late afternoon. Note which areas receive full sun (six or more hours of direct light), partial shade, or full shade. You should also trace water movement during heavy rainfall to identify natural drainage paths and areas where water pooling occurs.
Successful property planning relies heavily on functional site design. By applying Permaculture Zone Planning principles adapted for smaller residential footprints, you organize elements based on how frequently you visit them. Zone 0 represents the home itself. Zone 1 includes high-use elements like salad greens, kitchen herbs, and vermicomposting bins placed right outside the back door. Zone 2 houses main-crop vegetable beds, small poultry coops, and rainwater storage tanks. Zone 3 covers perennial fruit trees, berry patches, and large compost piles positioned further along the yard’s perimeter.
Integrating your homestead layout into your existing environment requires careful visual and functional planning. A thoughtful landscape design allows you to blend productive elements seamlessly into your neighborhood aesthetic. Espaliered fruit trees grown flat against privacy fences, blueberry bushes utilized as ornamental hedges, and attractive timber-framed raised beds enable you to produce substantial food without triggering HOA disputes or municipal complaints.
- Map seasonal sun exposures: Track and record sun and shade boundaries across your yard during spring, summer, and fall to place crops accurately.
- Conduct soil composition tests: Take soil samples from multiple yard quadrants using a simple jar test to measure sand, silt, and clay ratios before planting.
- Identify microclimates: Locate warm reflection zones near south-facing brick walls or cool pockets near timber fencing to extend your growing seasons.
- Check local codes and HOA rules: Review municipal bylaws regarding flock sizes, structure setbacks, fence heights, and front-yard food production limits.
Building Resilient Water Infrastructure and Irrigation
Water security is the operational backbone of any homestead. While suburban properties generally benefit from municipal water connections, relying exclusively on city water to irrigate extensive vegetable gardens, fruit trees, and livestock can lead to high utility bills during peak summer months. Building an on-site water catchment, storage, and distribution system ensures your crops thrive through seasonal droughts while lowering operating costs.
Harvesting rainwater from rooftop runoff is the fastest way to build water independence. A standard 1,000-square-foot roof section yields roughly 600 gallons of water for every inch of rainfall. By linking multiple heavy-duty rain barrels or installing large underground cisterns connected to your home or garage downspouts, you can store thousands of gallons of untreated, mineral-rich rainwater for garden use. Equipping these storage tanks with low-voltage solar pumps allows you to supply pressurized water directly to your garden beds.
For suburban homesteaders working larger lots or aiming for total water independence, developing dedicated ground wells provides a reliable backup supply. Hiring experienced water well drillers ensures that your well is properly depth-calculated, cased, and sealed according to local environmental protection standards. Having an independent, dedicated water source protects your perennial orchards and food gardens from municipal watering bans during severe heatwaves.
To maintain continuous water flow across your property, your pumping mechanics must be serviced regularly. Over time, sediment accumulation, mineral scaling, or electrical surges can wear down submersible components. Contracting a reliable well pump repair service guarantees that pressure tanks, foot valves, and motor switches function correctly, preventing sudden irrigation outages during critical crop growing phases.
- Install first-flush diverters: Divert the initial dirty runoff from roof surfaces away from storage barrels to keep debris out of your irrigation water.
- Lay automated drip irrigation: Install drip lines with battery-operated timers under thick mulch layers to reduce water evaporation by up to 50 percent.
- Construct contour swales: Dig shallow, level trenches filled with woodchips across slopes to trap surface runoff and hydrate tree root systems naturally.
- Elevate storage tanks: Position rainwater collection barrels on sturdy, elevated platforms to use gravity flow for garden hoses without electric pumps.
- Insulate exposed supply lines: Wrap above-ground water pipes, backflow preventers, and spigots with thermal insulation to prevent winter freeze damage.
Creating High-Yield Intensive Food Production Gardens
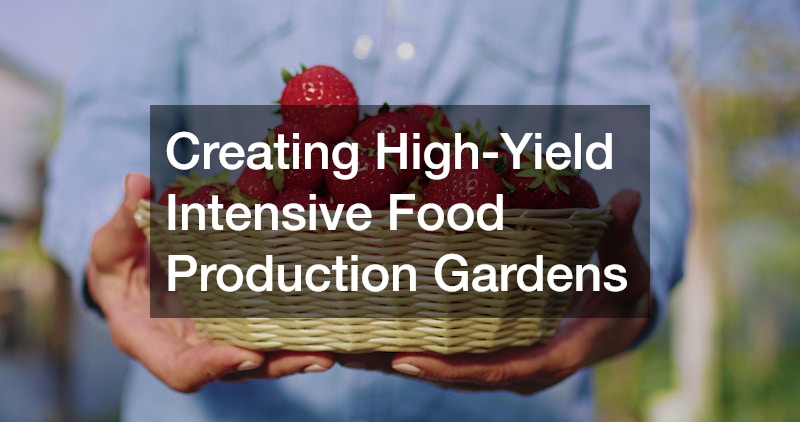
Maximizing output on a suburban lot requires moving past traditional single-row agricultural techniques. Intensive gardening practices focus on building high-grade soil, utilizing vertical space, and planting tightly spaced crop combinations. By implementing raised beds, bio-intensive bio-diversity, and perennial polycultures, a few hundred square feet of growing space can produce hundreds of pounds of fresh produce annually.
Raised garden beds are ideal for suburban setups. They provide complete control over soil composition, improve drainage, prevent root compaction from foot traffic, and warm up faster in early spring. Building beds out of untreated cedar, stone masonry, or durable corrugated metal ensures longevity without leaching synthetic chemicals into your food supply. Filling these beds with a blend of organic topsoil, composted manure, and leaf mold establishes a nutrient-rich foundation that supports dense crop spacing.
To balance productivity with neighborhood appeal, many homeowners utilize professional garden design services to integrate food production seamlessly into overall residential landscapes. Expert layout designers can help arrange edible crops aesthetically—pairing purple kale, colorful Swiss chard, and flowering companion herbs with traditional perennials—creating a beautiful yard that provides an abundant harvest.
Proper soil structure and bed boundaries can be further improved through strategic hardscaping. Installing paved brick walkways, stone retaining walls, gravel pathways, and terraced timber steps between growing zones keeps foot traffic off planting soil, minimizes weed migration, reduces erosion, and gives your suburban homestead a polished, professional finish.
- Implement succession planting: Re-plant harvested crop beds immediately with quick-maturing varieties to harvest continuously from spring through fall.
- Grow vertically on cattle panels: Install arched wire trellises between raised beds to train climbing crops like tomatoes, cucumbers, and pole beans upward.
- Practice companion planting: Interplant strong-smelling herbs like marigolds and basil alongside tomatoes and peppers to confuse insect pests naturally.
- Incorporate perennial food crops: Plant asparagus, rhubarb, berry canes, and fruit trees once to secure automatic yearly food yields with minimal re-tilling.
- Maintain active compost stalls: Combine green nitrogen materials with brown carbon materials in aerated bins to convert kitchen scraps into organic fertilizer.
Erecting Outbuildings and Durable Homestead Structures
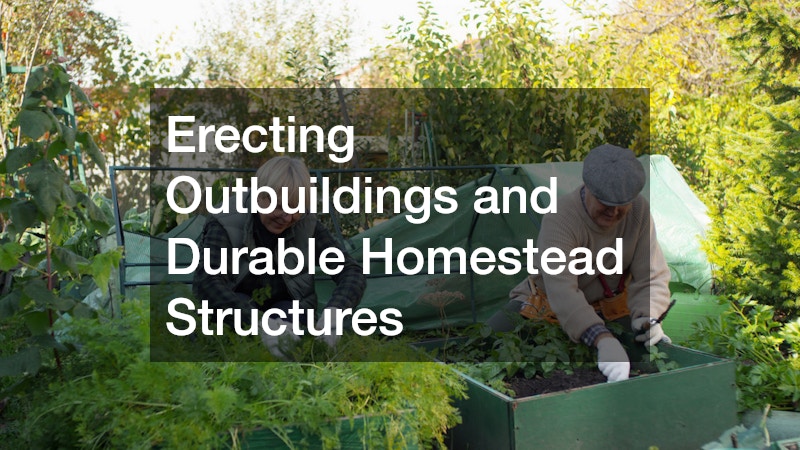
To operate efficiently, a suburban homestead requires dedicated outbuildings for equipment storage, animal housing, seed starting, and workshop space. Without structured storage, expensive tools degrade in the elements, feed supplies attract pests, and livestock housing becomes difficult to keep clean. Investing in durable, well-built outdoor structures keeps your homestead organized, secure, and fully functional.
Every homestead needs a centralized hub for storing bulk feed, hand tools, power equipment, and seasonal harvest supplies. Working with a local shed service allows you to customize an outbuilding specifically for homestead operations. You can design a shed with reinforced flooring to support heavy grain barrels, integrated wall racks for garden tools, and high windows that provide natural light while keeping valuable equipment hidden from view.
Poultry coops require special attention when building in suburban environments. Coops must be completely predator-proof, fully ventilated to prevent respiratory issues in birds, and easy to clean to eliminate odors that could annoy neighbors. Incorporating deep-litter bedding systems, hardware cloth wire (instead of flimsy chicken wire), automatic solar coop doors, and covered outdoor runs keeps small flocks healthy, productive, and safe from raccoons, foxes, and hawks.
Custom structural reinforcement is often needed to build long-lasting homestead structures capable of withstanding heavy crop loads and weather exposure. Partnering with a custom metal fabrication shop enables you to build heavy-gauge steel cattle panel trellises, custom livestock gate latches, reinforced greenhouse frames, and heavy-duty tool mounts that outlast off-the-shelf plastic or light aluminum alternatives.
- Anchor outbuildings securely: Set shed corner posts and coop framing on concrete piers or gravel pads to prevent settling and soil rot.
- Ventilate livestock housing: Install screened soffit vents high on coop walls to remove ammonia and moisture without creating cold drafts on roosting birds.
- Use heavy 1/2-inch hardware cloth: Line all coop windows, runs, and floor gaps with welded wire mesh to block predators from chewing through.
- Build seed-starting green houses: Construct a small cold frame or greenhouse equipped with heating mats and grow lights to start crops early.
- Organize feed in airtight metal cans: Store poultry feed and scratch grains inside heavy-duty galvanized steel bins to keep rodents out.
Establishing Harvest Processing and Storage Hubs
Growing food is only half the homesteading equation; processing, preserving, and storing your yields properly ensures you eat from your land year-round. Without an organized processing system, large harvests can quickly turn into kitchen clutter and spoiled food. Setting up dedicated indoor and outdoor hubs for washing, curing, canning, and root-cellaring turns harvest gluts into long-term food security.
An outdoor harvest washing station prevents garden soil, bugs, and plant debris from ending up in your home kitchen. Set up a covered workbench equipped with a deep utility sink, spray nozzles, wire-mesh washing screens, and hanging drying racks right near your vegetable beds. Washing and trimming crops outdoors keeps your main living space clean while allowing wash water to drain directly into nearby fruit tree basins or compost piles.
When building or renovating indoor harvest processing centers, pantries, or basement storage hubs, hiring a local contracting service ensures structural modifications meet safety codes. Converting a basement corner into a cool, humidity-controlled root cellar or expanding kitchen space to support heavy pressure-canning equipment often requires adding dedicated electrical circuits, installing exhaust ventilation, and building heavy-duty structural load supports.
Organizing your preserved food inventory requires specialized, heavy-capacity storage units. A custom cabinet business can design reinforced pantry shelving, pull-out storage drawers, and specialized canning jar racks configured to hold hundreds of pounds of glass mason jars, heavy pressure cookers, and dehydrators safely. Having purpose-built cabinetry maximizes small indoor footprints while keeping your preserved harvests organized and easily accessible.
- Set up an outdoor wash sink: Install a stainless steel utility sink outdoors to wash freshly harvested root vegetables before bringing them inside.
- Build dedicated curing racks: Construct slatted wooden drying frames in a dry, shady, well-ventilated area to cure garlic, onions, and winter squash.
- Install heavy-duty pantry shelving: Use thick solid wood or steel shelving units that won’t sag under the weight of hundreds of filled canning jars.
- Control pantry temperature and light: Keep preserved food storage areas dark, cool (50°F to 70°F), and dry to maximize shelf life.
- Label and rotate home-canned stock: Mark every jar with the exact preservation date and contents, practicing first-in, first-out inventory management.
Long-Term Homestead Management and Community Integration
Building a successful suburban homestead is an ongoing process of learning, adapting, and fine-tuning your systems. In the first year, focus on laying a solid foundation: mapping your yard, conditioning your soil, installing basic water catchment systems, and planting simple annual crops. As your confidence and skills grow in subsequent seasons, expand into perennial plantings, bring in small livestock like chickens or quail, and build advanced preservation workflows.
Suburban homesteading also benefits greatly from positive neighborhood relationships. Sharing excess garden produce, fresh eggs, and home-canned jams with neighbors turns potential skeptics into supportive allies. A clean, attractive homestead that operates quietly and smells fresh demonstrates that residential self-reliance and community aesthetics can exist together seamlessly.
By taking controlled, step-by-step actions, you can convert your standard residential lot into an abundant, resilient home. The journey toward self-sufficiency does not require leaving your current neighborhood; it simply requires viewing your land through a new lens and making purposeful choices to build a productive, sustainable lifestyle right where you are.